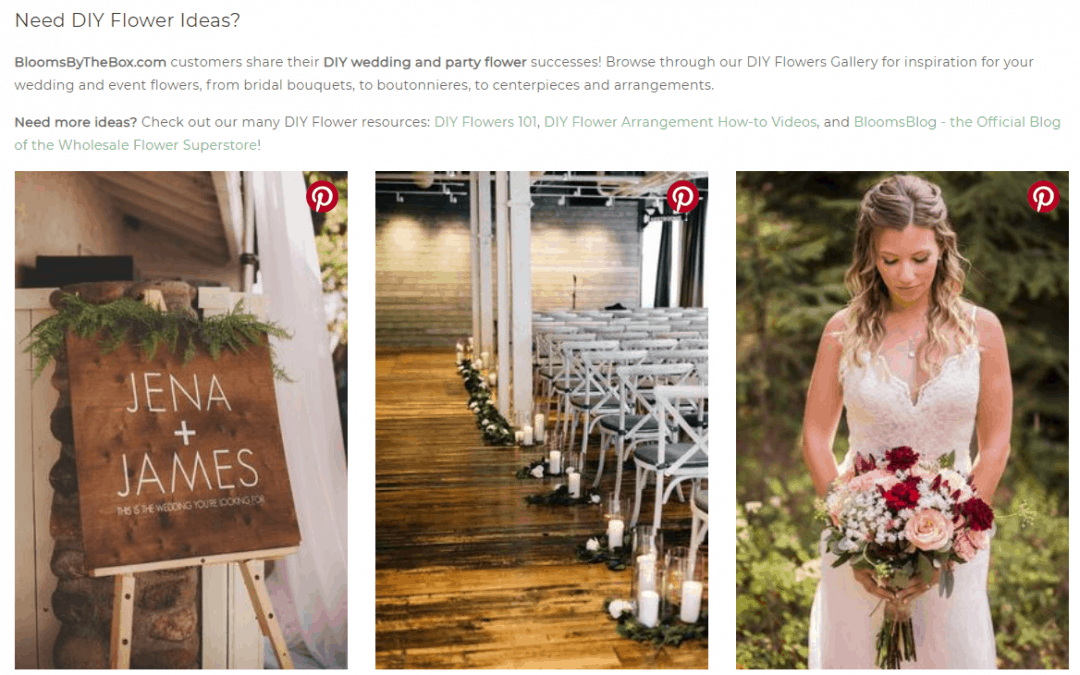
We’re breaking down our most used tips and tricks for DIYing your flowers! From start to finish we’ve got you covered.
1. For a loose, organic bouquet, use zip ties
This is a great tip for when you are trying to achieve a more natural flow with an asymmetrical bouquet or even arrangement. Start with your greens and arrange them crossing the stems at the bottom and use a zip tie to loosely secure them together. You can build on this either for an arrangement in a vase or a bouquet!

Alivia Latimer Photography
2. Use tape to create a grid on your vase
For the popular square glass vases or even cylinder ones that are clear and not conducive with floral foam, you can build a tape grid along the top of the vase using regular scotch tape or double-sided tape. Be sure to add the water first and then dry off the edges so the tape sticks to the glass!
3. Start and end with your greens
This is the rule of thumb for arrangements! Greens are perfect for creating the base and general shape of your arrangement when starting out. Whether you’re using floral foam or not, greens are always good to create your base. You can also end with greens, using them to fill in any holes.
4. Turn the vase while arranging
This one is key! If you are making a centerpiece especially, you’ll want to make sure it looks aesthetically pleasing from all angles. It doesn’t have to be the same on each side as long as it looks full and overall even.
5. Use floral foam!
Floral foam is your friend! It’s so versatile and can be used for so many different projects you might not have thought it would help with! It can even replace vases for some low centerpieces. Using a designer dish with floral foam can eliminate the need for a vase all together and make a beautiful, full-looking centerpiece without the added cost.
6. Enlist help
This is so important! Depending on how much you’re taking on, don’t go it alone. We can’t stress this enough, your bridesmaids are there for a reason, use them! You can get your arranging done in half the time if you have help. Our best advice for using help is to create one centerpiece the way you like it and use it as a model for them to recreate it. People always ask if there’s anything they can do to help; in this case, the answer is yes!
7. Use Inspiration
We know how hard it can be to look at flowers on our website and try to imagine what would look nice together. That’s why we are constantly coming up with tutorials and sharing our real brides and inspo on all of our social media outlets, Instagram, Facebook, Blog etc. These are great places to find inspiration as well as other blogs such as Budget Savvy Bride, Emmaline Bride, Confetti Daydreams, Green Wedding Shoes, A practical wedding, and of course the beloved Pinterest is always good for getting floral inspo pics, especially because you can search for things like “pink wedding flowers” and they will give you a vast array of different styles to choose from.

Tips and Tricks for DIYing your flowers
8. Don’t forget about transportation
Getting your arrangements from where you are arranging them to the venue might seem like something you wouldn’t need to worry about but do not overlook this detail! It could put you into some hot water depending on what you are planning to do. For centerpieces such as submerged orchids or something on a larger/heavier scale, you’ll want to plan to arrange there. It’s always worth asking your venue if you can set up the day before (sometimes you can!). If not, you’ll want to plan accordingly, make sure you have enough space in the car to bring everything and we suggest using our boxes the flowers are shipped in to stabilize centerpieces while driving. You can cut holes in the top of the box to fit the size of the arrangements perfectly.
9. Use crowning glory
This is a wonderful product. We stand by it and know plenty of professional and high-end florists who also swear by the stuff. It is used after the arrangement is put together to keep it looking nice and fresh and hydrated. It’s also great for garlands or items that need to stay out of water for a little such as boutonnieres!

10. Watch tutorials
This is so helpful if you don’t have floral experience! It’s also helpful to figure out exactly what supplies you might need for whatever you are looking to create. For example, for a bouquet, you’ll want to make sure you have floral tape, florals shears and of course decorative ribbon to tie around the floral tape. Certain projects require certain items and tutorials from our library or youtube can be great resources to figure that out! Also, you can always contact us with questions or concerns via email Service@bloomsbythebox.com or phone at 1-855-BUY BLOOMS!
With these tips and tricks to DIYing your flowers, you’ll have all the tools you need! Good luck ?


